foto: YouTube/Bapak serba bisa
Brilio.net - The dipper is one of the essential equipment in the bathroom. Its main function is to collect water, making all activities in the bathroom easier. Apart from that, its concave shape and light weight means that this tool is still often chosen compared to many types of modern showers.
Indeed, basically, the dipper has a very light weight because it is made of plastic. However, even though it is known to be light and sturdy, a dipper that is used for a long time can become damaged, you know. Usually the damage that often occurs is a leak or a part that breaks because the ladle falls and hits a hard object.
Well, a ladle that is leaking and broken certainly cannot be used because it cannot hold water properly. For this reason, many people think that leaky and broken buckets tend to be unfit for use, so they end up throwing them away. Even though you know what? This leaking and broken ladle can still be used if it is patched properly.
One way to patch a dipper is to cover the leak with duct tape. Apart from that, there are also other methods that are more effective in patching leaking buckets. Well, this method has been practiced by gentlemen who use YouTube, Mr. Versatile.
Through one of the uploaded videos, the YouTube user admitted that he only used simple ingredients. In fact, one of the ingredients comes from the kitchen, you know. Yup! Instead of using duct tape, these gentlemen actually chose kitchen materials to patch leaking and broken ladles .
Patch a leaking ladle using kitchen ingredients.
Reported by BrilioFood from YouTube Mr. Versatile on Thursday (16/5), the kitchen ingredient in question is baking powder. According to YouTube user Mr. Versatile, this baking powder functions to make broken parts stick together more tightly when applied with glue.
So, for a clearer method of application, you just need to prepare baking powder and drops of glue. In the video, he uses clear instant glue. Meanwhile, only about one teaspoon of baking powder is used. However, the baking powder dosage can be adjusted according to how large the broken part is.

photo: YouTube/Mr Versatile
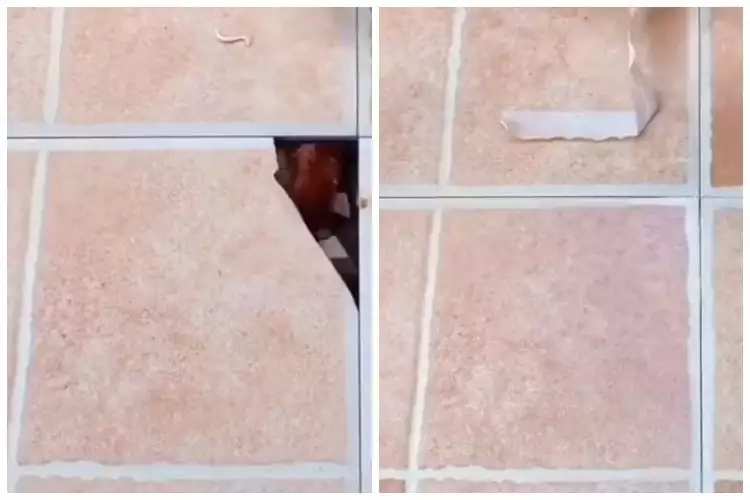
When you want to apply it, make sure the broken part of the dipper is on top. After that, immediately sprinkle baking powder along the broken part. Make sure the baking powder covers the gaps in the spoon that leaks and breaks.

photo: YouTube/Mr Versatile
Then, immediately after adding baking powder, immediately drop glue on the leaking area. If so, press the broken part of the ladle from the inside so that the baking powder and glue are even more integrated. After that, let it sit for a while until it dries.
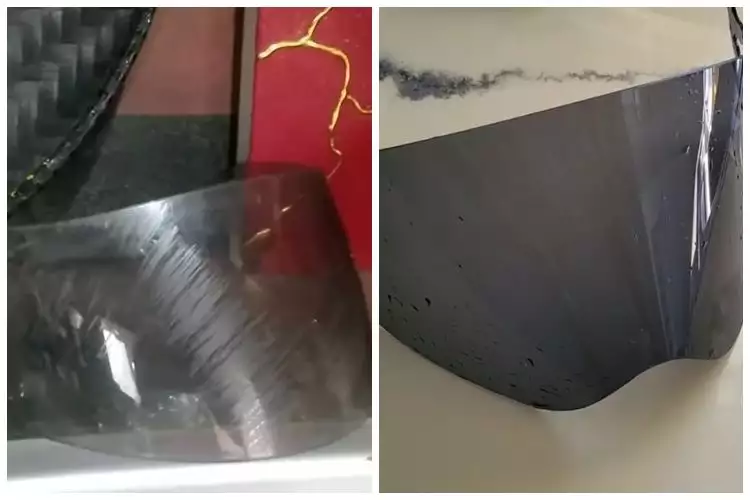
Next, turn the ladle over and drip glue onto the broken area from the inside. This is done so that there are no gaps that could cause the dipper to crack again. If so, let it sit again until the glue is dry.

photo: YouTube/Mr Versatile
So, if the glue is dry, you can immediately use the ladle as before. In the video, YouTube user Mr. Versatile shows the condition of the ladle (which was previously leaking) when filled with water. The part that was previously broken did not appear to be releasing any water at all. This indicates that the ladle is completely intact and can be used as before.
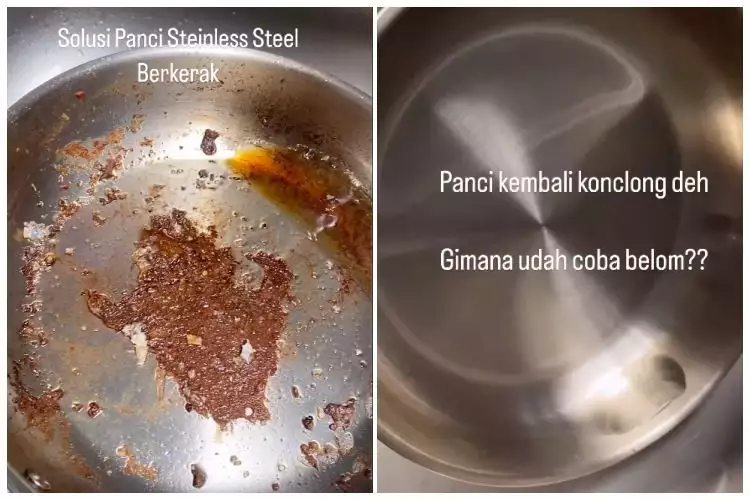
Cleaning crusty dippers without brushing can be done using ingredients that are easy to find at home. Here are some tips you can try:
1. Vinegar and hot water.
Fill the ladle with a mixture of vinegar and hot water in a 1:1 ratio. Leave it for a few hours or overnight. The crust will dissolve and be easily cleaned by just rinsing.
2. Baking soda and vinegar.
Sprinkle baking soda on the crusty surface of the scoop, then pour in the vinegar. Let the mixture foam for a few minutes, then rinse with hot water.
3. Citric acid.
Dissolve 2-3 tablespoons of citric acid in hot water and pour into a ladle. Leave it for a few hours, then rinse with clean water.
4. Lemon water.
Squeeze some lemons into a ladle and add hot water. Let this mixture work for a few hours. Lemon contains citric acid which is effective at dissolving scale.
5. Carbonated drinks.
Pour a carbonated drink (such as soda) into a dipper and let it sit for several hours. The phosphoric acid in this drink can help dissolve scale.
6. Baking soda paste.
Mix baking soda with a little water to make a paste. Apply this paste to the crusty surface of the dipper and leave it for a few hours before rinsing.
7. Vinegar and salt solution.
Mix the vinegar and salt until the salt dissolves. Pour this solution into a ladle and let it sit for a few hours. The combination of vinegar and salt can dissolve limescale.
8. Tartar cleansing tablets.
Place one or two tartar removal tablets in a ladle filled with hot water. Let the tablet dissolve and work for several hours before rinsing off.
9. Hot water and dish soap.
Fill a ladle with hot water and add a few drops of dish soap. Leave it for a few hours. The soap will help loosen the crust so it is easy to rinse.
(brl/tin)